The Ultimate Bramble Jelly Recipe: A Forager's Delight
Bramble jelly, with its gorgeous jewel-toned colour and intensely fruity flavour, is a true taste of autumn. This recipe guides you through making your own delicious batch, from foraging for brambles to the final satisfying set. Get ready to impress your friends and family with this homemade treasure!
Foraging for Brambles: A Beginner's Guide
Before we dive into the recipe, let's talk about sourcing your brambles. While you can buy frozen brambles, nothing beats the taste of freshly picked fruit.
- Timing is Key: The best time to forage brambles is late summer and autumn, when the berries are plump, juicy, and a deep purple-black.
- Location, Location, Location: Look for bramble patches in hedgerows, woodland edges, and even roadside verges (be mindful of traffic!). Always ask permission before picking on private land.
- Picking Perfection: Choose berries that are ripe and fully coloured. Avoid any that are green, squashed, or showing signs of mould. Use a bowl or bucket to collect your bounty.
Safety First: Always wash your hands thoroughly before and after foraging, and be aware of thorns! Wear appropriate clothing and gloves if needed.
Ingredients for the Perfect Bramble Jelly
This recipe makes approximately 500ml of bramble jelly. Adjust quantities accordingly if you're making a larger or smaller batch.
- 1kg ripe brambles
- 1kg granulated sugar
- 200ml water
- 1 lemon, juiced
- Optional: 1 tsp lemon zest (for extra zing!)
- Sterilised jars and lids
Step-by-Step Bramble Jelly Recipe
1. Preparing the Brambles:
Thoroughly wash your foraged brambles and remove any leaves or stems. Place them in a large pan with the water and lemon juice.
2. Simmering the Berries:
Bring the mixture to a gentle simmer, stirring occasionally. Cook for about 20-30 minutes, or until the brambles have softened and broken down completely. You can use a potato masher to help speed up this process.
3. Extracting the Juice:
Once the berries have softened, pour the mixture through a fine-mesh sieve or jelly bag, lined with muslin cloth, to separate the pulp from the juice. This is crucial for a clear and vibrant jelly. Allow the juice to drain completely. You may need to gently squeeze the pulp to extract as much juice as possible.
4. Making the Jelly:
Measure the strained juice and return it to the clean pan. For every 600ml of juice, add 1kg of sugar. Stir well until the sugar dissolves completely.
5. Setting the Jelly:
Bring the mixture to a rolling boil, stirring continuously to prevent sticking. Once boiling, maintain a rolling boil for about 5-10 minutes, or until the setting point is reached (a wrinkle test on a chilled plate is a good indicator).
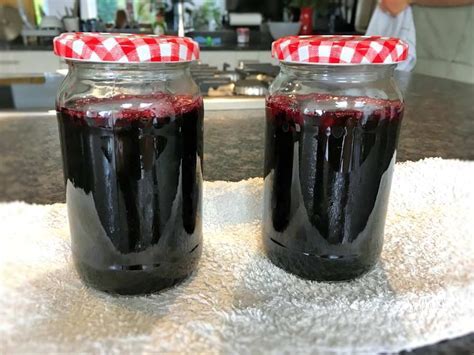
6. Filling the Jars:
Carefully ladle the hot jelly into your sterilised jars, leaving a small space at the top. Wipe the rims of the jars clean and seal tightly with the lids.
7. Cooling and Storing:
Invert the jars for a few minutes to check for leaks, then turn them upright. Allow the jelly to cool completely. Store in a cool, dark place. Your homemade bramble jelly should last for several months.
Serving Suggestions: Beyond the Toast
While bramble jelly is delightful on toast or scones, let your creativity shine! Try it:
- With cheese and crackers: A sophisticated and delicious appetizer.
- In a glaze for roast meats: Adds a lovely sweetness and tang.
- As a filling for cakes or pastries: A burst of fruity flavour in every bite.
SEO Keywords for Your Blog Post:
- Bramble jelly recipe
- Homemade bramble jelly
- Foraging brambles
- Bramble jelly making
- Easy bramble jelly recipe
- Autumn recipes
- Jelly making tips
- Preserving brambles
- Bramble jelly uses
By using these keywords naturally throughout your blog post, you'll significantly improve its chances of ranking higher in search engine results. Remember to also promote your post through social media and other online platforms to improve off-page SEO. Happy jelly making!

