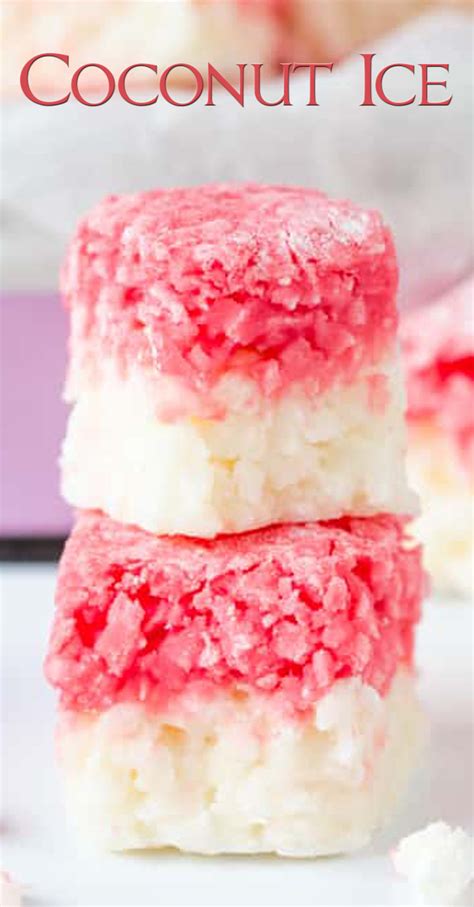
The Ultimate Guide to Creamy, Dreamy Coconut Ice
Coconut ice, with its delicate texture and irresistible coconut flavor, is a classic treat that's surprisingly easy to make at home. This comprehensive guide will walk you through creating perfect coconut ice, from selecting the right ingredients to mastering the chilling process. Get ready to impress your friends and family with this simple yet elegant confection!
Choosing Your Ingredients: The Foundation of Great Coconut Ice
The key to truly delicious coconut ice lies in the quality of your ingredients. Don't skimp here!
- Sweetened Condensed Milk: This provides the creamy base and sweetness. Look for a reputable brand with a good consistency. Avoid brands that are overly watery.
- Desiccated Coconut: The type of coconut you choose significantly impacts the flavor and texture. Fine desiccated coconut will yield a smoother ice, while coarser coconut offers a slightly more textured result. Experiment to find your preference!
- Butter: A small amount of butter adds richness and helps create a smoother, less grainy texture. Unsalted butter is recommended, allowing you to control the sweetness.
- Vanilla Extract: A touch of vanilla enhances the overall flavor profile, complementing the coconut beautifully. High-quality vanilla extract is worth the investment.
Step-by-Step Coconut Ice Recipe: A Foolproof Guide
This recipe makes approximately 1 pound of coconut ice.
Ingredients:
- 1 (14-ounce) can sweetened condensed milk
- 2 cups desiccated coconut
- 2 tablespoons unsalted butter, softened
- 1 teaspoon vanilla extract
- Pinch of salt (optional, enhances sweetness)
Instructions:
- Combine Ingredients: In a large bowl, combine the sweetened condensed milk, desiccated coconut, softened butter, vanilla extract, and salt (if using). Mix thoroughly until everything is evenly incorporated. Ensure there are no dry pockets of coconut.
- Shape the Ice: Line a shallow 8x8 inch baking dish or similar container with parchment paper, leaving some overhang on the sides for easy removal. Press the coconut mixture firmly and evenly into the prepared dish. You want a compact, even layer.
- Chill: Cover the dish with plastic wrap and refrigerate for at least 4 hours, or preferably overnight. This allows the coconut ice to firm up properly.
- Cut and Serve: Once chilled, lift the coconut ice out of the dish using the parchment paper overhang. Cut into squares, bars, or any desired shape.
Tips for Perfect Coconut Ice: Mastering the Technique
- Don't Overmix: Overmixing can result in a slightly tougher texture. Mix until just combined.
- Even Pressing: Ensure the coconut mixture is pressed firmly and evenly into the dish for a consistent texture.
- Chill Time is Crucial: Adequate chilling time is essential for achieving the desired firm texture. Don't rush this step!
- Get Creative with Flavors: Experiment with adding other flavorings, such as lime zest, cocoa powder, or chopped nuts.
Beyond the Basics: Variations on a Classic
Once you've mastered the basic recipe, you can explore endless variations:
Chocolate Coconut Ice:
Add 1/4 cup unsweetened cocoa powder to the mixture for a decadent chocolate coconut treat.
Lime Coconut Ice:
Stir in the zest of one lime for a refreshing twist.
Nutty Coconut Ice:
Add 1/2 cup chopped nuts (almonds, pecans, or walnuts) for added texture and flavor.
Storing Your Coconut Ice: Keeping it Fresh
Store your homemade coconut ice in an airtight container in the refrigerator for up to a week. It's best enjoyed within the first few days for optimal freshness and texture.
This comprehensive guide provides you with all the knowledge and steps you need to make delicious homemade coconut ice. So, gather your ingredients, follow the instructions, and get ready to enjoy this delightful treat! Remember to share your creations and tag us – we'd love to see your coconut ice masterpieces!

