The Ultimate Original Rice Krispies Treats Recipe: A No-Fail Guide
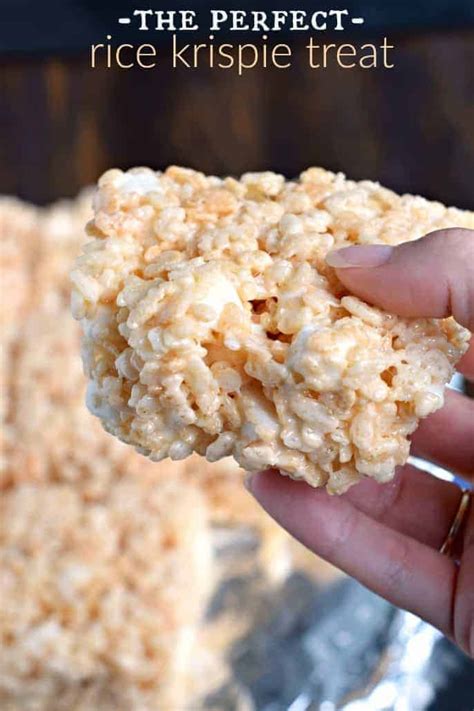
The iconic Rice Krispies Treats. A nostalgic favorite, a perfect after-school snack, and a delightful treat for any occasion. But are you making them perfectly? This guide will walk you through the original Rice Krispies Treats recipe, ensuring your squares are gooey, chewy, and utterly irresistible.
Understanding the Magic: Ingredients & Their Roles
Before we dive into the recipe, let's understand the core components that make these treats so special:
-
Rice Krispies Cereal: The star of the show! Its unique texture provides that satisfying crunch and light airy feel. Using a different cereal will drastically alter the result. Stick to the original Rice Krispies for the authentic experience.
-
Butter: Provides richness, flavor, and helps bind the cereal together. Use unsalted butter so you can control the salt level.
-
Marshmallows: The glue that holds everything together, providing sweetness and that signature chewy texture. Mini marshmallows are traditionally used and melt more evenly than large marshmallows.
-
Salt: A pinch of salt enhances the sweetness and balances the flavors. Don't skip it!
The Original Rice Krispies Treats Recipe: Step-by-Step
This recipe yields approximately 24 squares.
Ingredients:
- 6 tablespoons (3 ounces) unsalted butter
- 1 (10 ounce) bag of marshmallows (mini marshmallows recommended)
- 6 cups Rice Krispies cereal
Instructions:
-
Prep Your Pan: Lightly grease a 9x13 inch baking pan. You can use cooking spray or butter. This prevents sticking and makes cleanup easier.
-
Melt the Butter: In a large saucepan over low heat, melt the butter completely. Low and slow is key to prevent burning.
-
Add the Marshmallows: Add the marshmallows to the melted butter. Stir constantly until completely melted and smooth. Be patient; this takes a few minutes.
-
Remove from Heat: Once the marshmallows are melted and smooth, remove the saucepan from the heat. This prevents the marshmallows from burning or becoming too sticky.
-
Add the Cereal: Gently fold in the Rice Krispies cereal until evenly coated. Be careful not to overmix, as this can crush the cereal and make the treats dense.
-
Press into Pan: Quickly transfer the mixture to the prepared baking pan. Use a lightly greased spatula or wax paper to press the mixture firmly and evenly into the pan.
-
Cool and Cut: Let the treats cool completely before cutting into squares. This allows them to set properly.
Tips for Rice Krispies Treats Perfection
- Don't overheat: Low and slow is crucial for melting the marshmallows without burning them.
- Even Coating: Make sure all the cereal is evenly coated in the marshmallow mixture.
- Firm Press: Pressing the mixture firmly into the pan ensures a solid, cohesive treat.
- Cooling Time: Patience is key! Allow the treats to cool completely before cutting.
- Storage: Store your Rice Krispies Treats in an airtight container at room temperature for up to 3 days.
Variations and Fun Additions
While the original recipe is a classic, don't be afraid to experiment! Try adding:
- Chocolate chips: For an extra chocolatey indulgence.
- Sprinkles: Add a pop of color and fun.
- Butterscotch chips: A delicious twist on the classic flavor.
- Dried fruit: Add some chewy texture and fruity notes.
This original Rice Krispies Treats recipe is a guaranteed crowd-pleaser. Follow these steps, and you'll be enjoying perfectly gooey, chewy, and crunchy treats in no time! Remember to share your creations – and tag us! (This is where you would add your social media handles if this were a live blog post).

