Unleash Your Inner Baker: The Ultimate Guide to Panasonic Bread Maker Recipes
Are you ready to elevate your baking game with your Panasonic bread maker? This comprehensive guide dives deep into the world of delicious, homemade bread, providing you with tips, tricks, and a collection of fantastic Panasonic bread maker recipes. Whether you're a seasoned baker or a complete beginner, you'll find something to inspire your next baking adventure.
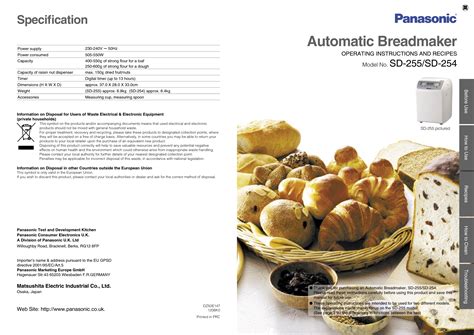
Understanding Your Panasonic Bread Maker
Before we jump into the recipes, let's familiarize ourselves with the functionalities of your Panasonic bread maker. Different models may have slight variations, so always consult your user manual for specific instructions and settings. Understanding your machine's capabilities, including dough settings, bake-only options, and various crust settings, is key to baking success. Pay close attention to the water and flour measurements as these are crucial for achieving the perfect texture.
Mastering the Basics: Key Ingredients & Techniques
The foundation of any great bread lies in its ingredients and technique. Here’s what to keep in mind when using your Panasonic bread maker:
- Flour: The type of flour you use significantly impacts the final product. Bread flour, with its high protein content, is ideal for creating strong, chewy loaves. All-purpose flour works well too, but may result in a slightly less chewy loaf.
- Yeast: Active dry yeast is the most common type used in bread makers. Ensure it's fresh for optimal results. Expired yeast will likely result in a dough that doesn't rise properly.
- Water Temperature: The water temperature affects yeast activation. Too hot, and you'll kill the yeast; too cold, and the yeast will be slow to activate. Aim for lukewarm water (around 105-115°F or 40-46°C).
- Salt: Salt controls yeast activity and adds flavor. Don't skip it!
- Sugar: Sugar feeds the yeast and contributes to browning and flavor.
Delicious Panasonic Bread Maker Recipes:
Here are three recipes to get you started. Remember to always check your Panasonic bread maker's manual for specific instructions and ingredient adjustments based on your model.
1. Classic White Bread
Ingredients:
- 1 cup warm water (105-115°F)
- 1 ½ tsp sugar
- 2 ¼ tsp active dry yeast
- 3 ½ cups bread flour (or all-purpose flour)
- 1 ½ tsp salt
- 2 tbsp unsalted butter, softened
Instructions:
- Add the water, sugar, and yeast to your bread maker pan. Let it sit for 5-10 minutes until foamy.
- Add the flour, salt, and butter.
- Select the basic white bread setting on your Panasonic bread maker.
- Press start and let the machine do its magic!
2. Whole Wheat Bread
Ingredients:
- 1 cup warm water (105-115°F)
- 1 ½ tsp sugar
- 2 ¼ tsp active dry yeast
- 2 cups whole wheat flour
- 1 ½ cups bread flour
- 1 ½ tsp salt
- 2 tbsp unsalted butter, softened
Instructions:
- Follow the same steps as the Classic White Bread recipe, substituting the flours as indicated. Whole wheat flour absorbs more liquid, so you may need to add a tablespoon or two of extra water if the dough seems too dry.
- Select the whole wheat or whole grain setting on your Panasonic bread maker (if available). Otherwise, use the basic setting.
3. Sweet Cranberry Bread
Ingredients:
- 1 cup warm water (105-115°F)
- 1 cup sugar
- 2 ¼ tsp active dry yeast
- 3 ½ cups bread flour
- 1 tsp salt
- 1/2 cup dried cranberries
- 1/4 cup unsalted butter, melted
- 1 tsp vanilla extract
Instructions:
- Add water, sugar, and yeast to your bread pan and let it sit for 5 minutes.
- Add flour, salt, cranberries, melted butter, and vanilla extract.
- Select the sweet bread setting on your Panasonic bread maker, or a basic setting.
Tips for Bread-Making Success:
- Fresh Ingredients: Use fresh yeast for the best results.
- Accurate Measurements: Use a kitchen scale for precise measurements, especially for flour and water.
- Don't Overcrowd the Pan: Ensure there's enough space for the dough to rise.
- Experiment with Flavors: Add nuts, seeds, herbs, or spices to customize your loaves.
- Proper Storage: Store your bread in an airtight container at room temperature for a few days, or freeze for longer storage.
By following these recipes and tips, you'll be well on your way to creating delicious, homemade bread using your Panasonic bread maker. Happy baking!

