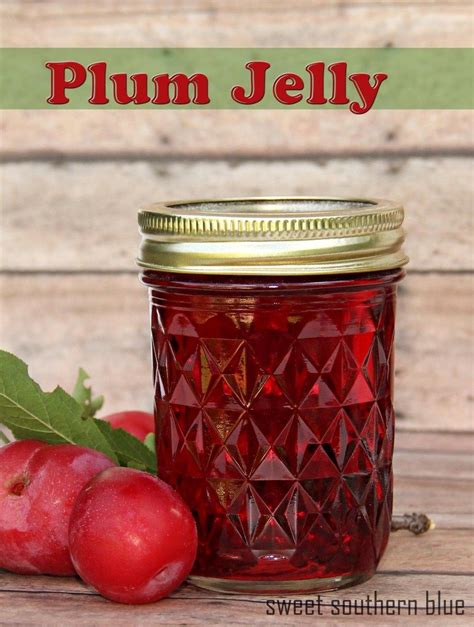
Plum Jelly UK Recipe: A Taste of Autumn
Autumn in the UK brings a bounty of delicious plums, perfect for making homemade plum jelly. This recipe provides a classic approach, ensuring a vibrant, fruity spread perfect for toast, scones, or cheese. We'll focus on achieving the perfect set, a crucial element of any good jelly.
Ingredients for the Perfect Plum Jelly
- 1kg ripe plums: Choose plums that are slightly soft but not overripe. A mix of varieties can add complexity to the flavour. Look for Victoria, Damsons, or similar UK-grown plums for the best results.
- 1kg granulated sugar: Use a good quality granulated sugar. Avoid caster sugar, as it can affect the setting.
- 1 large lemon: The juice provides pectin, crucial for setting the jelly. The zest adds a lovely citrusy note (optional, but recommended!).
- Water: About 200ml to start, but you may need a little more depending on the plums.
Step-by-Step Guide: Making Plum Jelly the UK Way
1. Preparing the Plums
- Wash the plums thoroughly and remove any blemishes or stalks.
- Halve or quarter the plums, depending on their size. Smaller plums can be left whole.
2. Extracting the Juice
- Place the plums in a large, heavy-bottomed saucepan. Add approximately 200ml of water.
- Bring to a boil, then reduce heat and simmer gently for about 20-30 minutes, or until the plums have completely broken down and released their juice.
- Important: Do not overcook, or you risk a bitter jelly.
3. Filtering the Pulp
- Line a large bowl or colander with muslin or a jelly bag. Pour the plum mixture into the bag, allowing the juice to drain through. This removes the pulp and seeds, resulting in a clearer jelly.
- Gently squeeze the bag to extract as much juice as possible. This step requires patience but is essential for a superior jelly.
4. Adding Lemon and Sugar
- Measure the extracted plum juice. You should have approximately 1 litre (or slightly less).
- Add the juice of one large lemon (and the zest, if using) to the saucepan.
- For every 500ml of juice, add 500g of granulated sugar. Stir gently to dissolve the sugar.
5. Setting the Jelly
- Bring the mixture to a rolling boil, stirring constantly to prevent burning.
- The wrinkle test: Once boiling, continue to boil rapidly for about 10 minutes, or until the setting point is reached. You can test this by placing a small spoonful of the mixture onto a chilled plate. If the jelly wrinkles when you push it with your finger, it's ready.
- Alternative setting point test: Use a sugar thermometer and bring the mixture to 104-105°C (219-221°F).
6. Jarring the Jelly
- Carefully skim off any foam from the surface of the jelly.
- Ladle the hot jelly into sterilised jars, leaving a small gap at the top.
- Seal the jars tightly and leave to cool completely.
Tips for Plum Jelly Success
- Use ripe, but not overripe, plums.
- Don't rush the filtering process – the clearer the juice, the better the jelly.
- Sterilise your jars thoroughly before filling.
- Store the finished jelly in a cool, dark place. It should keep for several months.
Beyond the Basic Recipe: Adding Flavour Variations
Experiment with adding spices like cinnamon or cloves for a warming twist, or a splash of brandy or whisky for an adult version. The possibilities are endless!
This recipe will help you create a delicious, homemade plum jelly, capturing the essence of the British autumn harvest. Enjoy!

