Mary Berry's Perfect Raspberry Jam Recipe: A Step-by-Step Guide
Mary Berry, a household name synonymous with baking excellence, offers a foolproof recipe for raspberry jam that's both simple and delicious. This guide provides a detailed walkthrough of her recipe, ensuring you achieve perfect, set jam every time. We'll also explore some helpful tips and variations to personalize your jam-making experience.
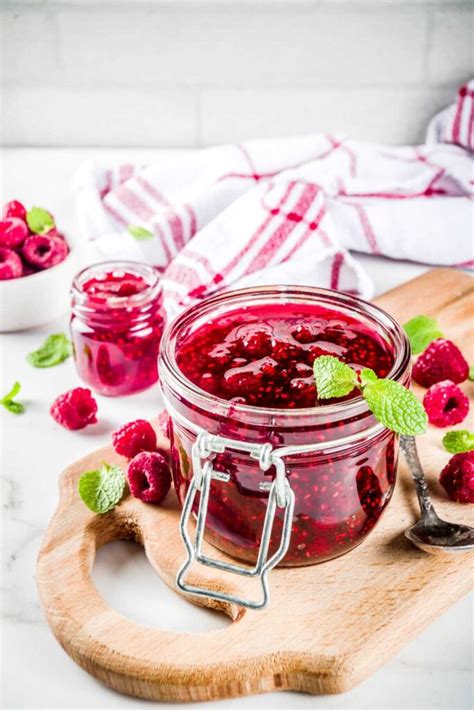
Ingredients You'll Need:
This recipe yields approximately 6 x 227g jars of raspberry jam. Adjust quantities proportionally for smaller or larger batches.
- 1kg ripe raspberries: Choose raspberries that are plump, juicy, and slightly soft but not overripe or damaged. Overripe raspberries will result in a less set jam.
- 1kg granulated sugar: Using caster sugar is an alternative, but granulated sugar is generally preferred for jam making.
- Juice of 1 lemon: This adds acidity, which helps with setting and enhances the flavor.
Equipment for Jam Making:
- Large, heavy-bottomed saucepan: This prevents scorching and ensures even heating.
- Jam thermometer: Essential for achieving the correct setting point.
- Sterilized jars and lids: This is crucial to prevent spoilage. Wash jars and lids thoroughly in hot, soapy water, then sterilize by boiling for 10 minutes.
- Wooden spoon or spatula: For stirring the jam.
- Funnel (optional): Makes filling the jars easier and neater.
- Jars with lids and sealing wax: If using a traditional seal.
Mary Berry's Raspberry Jam Recipe: A Step-by-Step Guide
Step 1: Preparing the Raspberries
Gently wash the raspberries and remove any stems or leaves. Avoid crushing them excessively at this stage.
Step 2: Combining Ingredients
Place the raspberries in the saucepan and add the sugar. Gently stir to combine. Add the lemon juice.
Step 3: The Cooking Process
Place the saucepan over medium heat. Stir gently until the sugar dissolves completely. Bring the mixture to a rolling boil, stirring constantly to prevent sticking.
Step 4: Achieving the Setting Point
Once boiling, continue to boil rapidly, stirring frequently. Use a jam thermometer to monitor the temperature. The jam is ready when it reaches a setting point of 104-105°C (219-221°F). This is crucial for a good set. If you don't have a thermometer, you can perform the wrinkle test (see below).
Step 5: The Wrinkle Test (Alternative to Thermometer):
Place a small spoonful of jam onto a chilled plate. Let it cool for a minute, then push the jam with your finger. If the surface wrinkles, it's ready.
Step 6: Filling the Jars
Carefully remove the jam from the heat. Using a funnel (if using one), pour the hot jam into the sterilized jars, leaving a small space at the top. Wipe the rims of the jars clean. Seal the jars immediately with lids.
Step 7: Cooling and Storage
Invert the jars for a few minutes to create a vacuum seal. Allow the jars to cool completely. Once cooled, store them in a cool, dark, and dry place.
Tips for Perfect Raspberry Jam:
- Use ripe, but not overripe, raspberries: This ensures the best flavour and setting.
- Don't over-stir the jam: Excessive stirring can cause the jam to become cloudy.
- Sterilize your jars properly: This prevents mold and spoilage.
- Label your jars with the date: This helps you track how long your jam has been stored.
Variations:
- Add a splash of orange liqueur: For an adult twist.
- Use a combination of raspberries and other berries: For a mixed berry jam.
- Add a pinch of spice: Such as cinnamon or cardamom, for a warmer flavor.
This detailed guide will help you make Mary Berry’s delicious raspberry jam. Enjoy the process and savor the fruits (or should we say, berries!) of your labor! Remember to share your jam-making successes using #MaryBerryJam on social media!

