Starbucks Matcha Latte Recipe: A Homemade Guide to Green Tea Goodness
Starbucks' Matcha Latte is a beloved beverage known for its vibrant green color and subtly sweet, earthy flavor. While a trip to your local Starbucks is always an option, recreating this delicious drink at home is surprisingly easy and significantly more cost-effective. This guide will walk you through a simple recipe to make a Starbucks-quality Matcha Latte, complete with tips and tricks for achieving the perfect balance of flavor and texture.
Understanding the Ingredients: Key to a Perfect Matcha Latte
Before diving into the recipe, let's understand the core ingredients:
-
Matcha Powder: This is the star of the show. Choose a culinary-grade matcha powder specifically designed for beverages. Ceremonial-grade matcha is typically too expensive and finely milled for lattes. Look for a matcha with a bright green color and a slightly sweet, grassy aroma. The quality of your matcha significantly impacts the final taste.
-
Milk: Starbucks uses a combination of milk and water in their latte. You can experiment with different kinds of milk: whole milk provides a richer, creamier texture, while non-dairy alternatives like almond milk or oat milk offer lighter, slightly different flavor profiles. Experiment to find your favorite!
-
Sweetener: The sweetness level is entirely customizable. Starbucks uses a proprietary syrup, but you can easily substitute with simple syrup (equal parts sugar and water, heated until dissolved), honey, or maple syrup. Start with a small amount and adjust to your preference.
-
Hot Water: Crucial for properly whisking the matcha powder to avoid clumps and ensure a smooth texture.
The Starbucks Matcha Latte Recipe: Step-by-Step Guide
This recipe yields one serving.
Ingredients:
- 1 teaspoon culinary-grade matcha powder
- 2 ounces hot water (around 175°F)
- 8 ounces milk (dairy or non-dairy) of your choice
- Sweetener (honey, simple syrup, maple syrup, etc.) to taste
Instructions:
-
Whisk the Matcha: In a small bowl, whisk the matcha powder with the hot water until completely smooth and frothy. A matcha whisk (chasen) is ideal, but a small whisk or even a fork will work in a pinch. Avoid using a blender, as it can over-mix the matcha and make it bitter.
-
Heat the Milk (Optional): If you prefer a warm latte, heat your milk gently on the stovetop or in the microwave until it's hot but not boiling. For an iced latte, skip this step.
-
Combine: Add the matcha mixture to your heated (or cold) milk. Stir gently to combine.
-
Sweeten: Add your chosen sweetener to taste. Start with a small amount and gradually add more until you reach your desired sweetness.
-
Serve: Pour your Matcha Latte into your favorite mug and enjoy! You can garnish with a sprinkle of matcha powder or a dollop of whipped cream for an extra touch.
Tips for the Perfect Homemade Matcha Latte:
- Water Temperature: Using water that's too hot can make the matcha taste bitter. Aim for around 175°F.
- Whisking Technique: Take your time whisking the matcha to ensure a completely smooth consistency without any lumps.
- Experiment with Sweeteners: Different sweeteners will impart varying levels of sweetness and flavor. Try them all and find your favorite!
- Milk Choice Matters: The type of milk you choose significantly influences the texture and taste of your latte.
Beyond the Basics: Variations on the Matcha Latte
Once you master the basic recipe, feel free to experiment with variations:
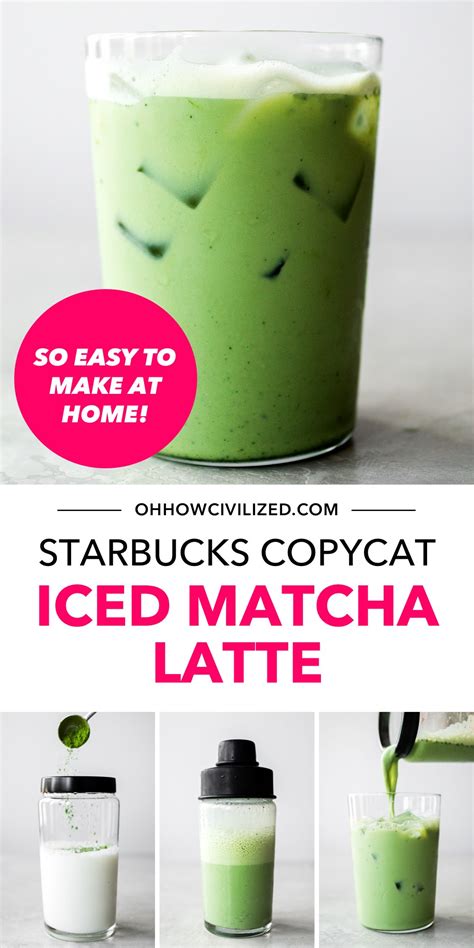
- Iced Matcha Latte: Simply use cold milk and skip heating the milk. Add ice to your glass.
- Matcha Latte with Flavors: Add a dash of vanilla extract, cinnamon, or other spices to customize your latte.
- Matcha Latte with Other Milk Alternatives: Try soy milk, coconut milk, or cashew milk for a unique flavor experience.
Making a Starbucks-style Matcha Latte at home is a rewarding experience. By following these steps and experimenting with different ingredients and techniques, you can create your perfect cup, saving money and enjoying the delicious taste anytime you want.

