Apple Butter Recipe: Canning & Preserving the Sweetness of Autumn
Autumn's bounty brings us crisp air, vibrant foliage, and the sweet, comforting aroma of apples. This year, capture that autumnal essence by making your own delicious apple butter and preserving it for enjoyment throughout the year. This comprehensive guide covers everything from selecting the perfect apples to the canning process, ensuring you have a pantry stocked with homemade goodness.
Choosing Your Apples
The key to exceptional apple butter lies in the apples themselves. A blend of sweet and tart varieties yields the best flavor profile. Consider these options:
- Sweet Apples: Honeycrisp, Gala, Fuji, Golden Delicious contribute sweetness and a soft texture.
- Tart Apples: Granny Smith, Braeburn, Pink Lady provide acidity and balance the sweetness.
Aim for a mix of at least two different types for optimal flavor complexity. Approximately 8-10 pounds of apples are needed for a standard batch.
Making the Apple Butter
This recipe yields approximately 6-8 pints of apple butter.
Ingredients:
- 8-10 pounds apples, peeled, cored, and chopped
- 1 cup apple cider or apple juice (optional, for added moisture)
- 1 cup packed light brown sugar
- ½ cup granulated sugar (adjust to your sweetness preference)
- 1 teaspoon ground cinnamon
- ½ teaspoon ground allspice
- ¼ teaspoon ground nutmeg
- ¼ teaspoon ground cloves
- Pinch of salt
Instructions:
- Cook the Apples: In a large pot or Dutch oven, combine the chopped apples and apple cider (if using). Cook over medium heat, stirring occasionally, until the apples are very soft and breaking down (approximately 1-2 hours).
- Blend: Once the apples are soft, use an immersion blender or transfer the mixture to a regular blender to achieve a smooth, creamy consistency. If using a regular blender, work in batches to avoid overloading.
- Simmer & Spice: Return the blended apple mixture to the pot. Stir in the brown sugar, granulated sugar, cinnamon, allspice, nutmeg, cloves, and salt. Reduce heat to low and simmer uncovered for at least 2-3 hours, or longer for a richer, deeper flavor. Stir frequently to prevent sticking and burning. The apple butter will thicken significantly as it simmers.
- Taste & Adjust: As the apple butter simmers, taste and adjust the sweetness and spices to your preference.
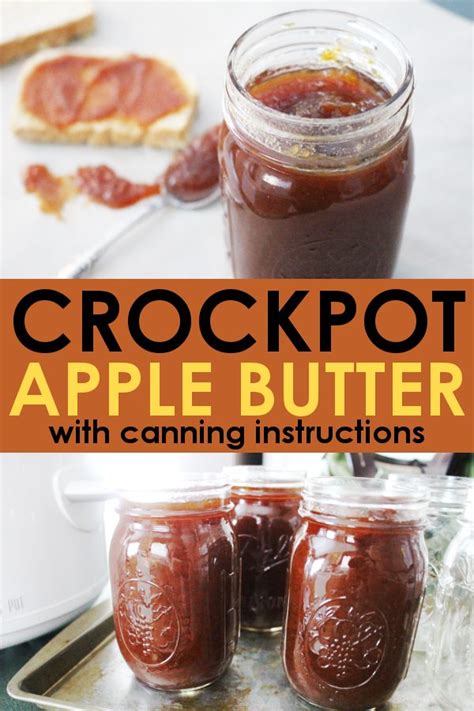
Canning Your Apple Butter: A Step-by-Step Guide
Equipment:
- Sterilized canning jars and lids
- Large pot for water bath canning
- Jar lifter
- Bubble remover
- Canning funnel
Canning Process:
- Sterilize Jars and Lids: Wash jars and lids in hot, soapy water. Rinse thoroughly. Place jars in a large pot, cover with water, and bring to a boil for at least 10 minutes. Keep jars submerged in hot water until ready to use. Place lids in a separate saucepan and cover with hot water.
- Fill the Jars: Carefully remove hot jars from the water bath using a jar lifter. Ladle the hot apple butter into the sterilized jars, leaving about ½ inch of headspace. Remove air bubbles using a bubble remover.
- Wipe the Rims: Wipe the rims of the jars clean with a damp cloth.
- Seal the Jars: Place the lids and rings on the jars, tightening them fingertip tight.
- Water Bath Canning: Place the filled jars in the water bath canner, ensuring they are covered by at least 1 inch of water. Bring the water to a rolling boil and process for 15 minutes (adjust processing time based on your altitude – consult a reliable canning resource for altitude adjustments).
- Cool and Check: Carefully remove the jars from the water bath and let them cool completely. You should hear a satisfying "pop" sound as the jars seal. Check that all jars have sealed properly (the lid should not flex when pressed).
- Store: Once completely cooled, label and store your apple butter in a cool, dark, and dry place. Sealed jars should last for 12-18 months.
Tips for Success
- Patience is Key: The long simmering time is essential for developing the rich flavor of apple butter.
- Adjust Sweetness: Adjust the sugar according to your taste preference and the sweetness of your apples.
- Experiment with Spices: Feel free to experiment with other spices, such as cardamom or ginger, to create your own unique flavor combinations.
- Always follow safe canning practices: Improper canning techniques can lead to spoilage. Consult a reputable canning guide for specific instructions and safety precautions.
Enjoy the delicious fruits (or should we say, apples!) of your labor! Your homemade apple butter will be a delightful treat throughout the year, a reminder of the warmth and flavors of autumn.

