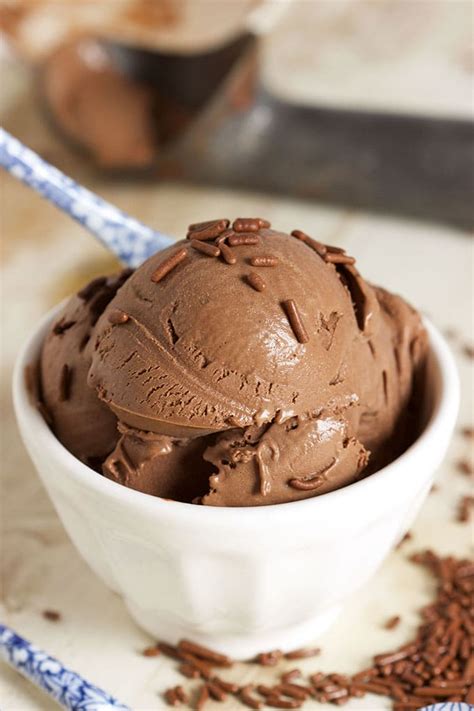
The Ultimate Guide to Homemade Chocolate Ice Cream
Forget store-bought! This guide will walk you through creating decadent, delicious homemade chocolate ice cream, perfect for satisfying any sweet tooth. We'll cover everything from choosing the right ingredients to mastering the perfect texture. Get ready to impress your friends and family with this easy-to-follow recipe.
Choosing Your Chocolate: The Foundation of Flavor
The success of your chocolate ice cream hinges on the quality of your chocolate. Don't skimp here! Using high-quality chocolate will result in a richer, more intense flavor.
-
Dark Chocolate: For a sophisticated, intensely chocolatey flavor, opt for a dark chocolate with a high percentage of cacao (70% or higher). The higher the percentage, the more bitter and less sweet the flavor will be.
-
Milk Chocolate: If you prefer a sweeter, milder chocolate flavor, milk chocolate is the way to go. Look for a good quality milk chocolate with a smooth, creamy texture.
-
Semi-Sweet Chocolate: A good balance between dark and milk chocolate, semi-sweet offers a rich chocolate flavor without being overly bitter or sweet.
Pro Tip: Chop your chocolate into small pieces for easier melting.
The Recipe: Classic Chocolate Ice Cream
This recipe uses a custard base for a creamy, luxurious texture. Feel free to adjust the sweetness and chocolate type to your preferences.
Ingredients:
- 2 cups heavy cream
- 1 cup whole milk
- ¾ cup granulated sugar
- ½ teaspoon salt
- 6 large egg yolks
- 8 ounces good quality chocolate, chopped (dark, milk, or semi-sweet – your choice!)
Instructions:
-
Heat the milk mixture: In a medium saucepan, combine the heavy cream, milk, sugar, and salt. Heat over medium heat, stirring occasionally, until the sugar is dissolved and the mixture is just simmering. Do not boil.
-
Temper the egg yolks: In a separate bowl, whisk the egg yolks lightly. Slowly drizzle about 1 cup of the hot cream mixture into the egg yolks, whisking constantly to prevent the yolks from scrambling.
-
Combine and cook the custard: Pour the tempered egg yolk mixture back into the saucepan with the remaining cream mixture. Cook over low heat, stirring constantly with a spatula, until the custard thickens enough to coat the back of the spatula (about 5-7 minutes). Do not boil.
-
Melt the chocolate: Remove the custard from the heat and stir in the chopped chocolate until it's completely melted and smooth.
-
Chill the custard: Strain the custard through a fine-mesh sieve into a bowl. Cover the bowl with plastic wrap, pressing the plastic wrap directly onto the surface of the custard to prevent a skin from forming. Refrigerate for at least 4 hours, or preferably overnight.
-
Churn the ice cream: Pour the chilled custard into your ice cream maker and churn according to the manufacturer's instructions. This usually takes 20-30 minutes.
-
Harden the ice cream: Once churned, transfer the ice cream to an airtight container and freeze for at least 2-3 hours to allow it to harden further.
Tips for Perfect Chocolate Ice Cream
- Use high-quality ingredients: The better your ingredients, the better your ice cream will taste.
- Don't overcook the custard: Overcooked custard can become grainy.
- Chill thoroughly: Chilling the custard before churning is crucial for a smooth texture.
- Add mix-ins: Get creative! Add chopped nuts, chocolate chips, swirls of caramel, or even fresh berries.
Beyond the Basics: Variations on a Theme
- Mint Chocolate Chip: Add ¼ cup of finely chopped fresh mint leaves to the custard before chilling. Stir in chocolate chips during the last few minutes of churning.
- Chocolate Peanut Butter: Stir in ½ cup of peanut butter to the custard after melting the chocolate.
- Salted Caramel Chocolate: Add a swirl of homemade salted caramel sauce after churning.
This guide offers a delicious foundation for your homemade chocolate ice cream journey. Experiment, have fun, and enjoy the fruits (or should we say, the frozen delights?) of your labor! Remember to share your creations and tag us! Happy churning!

