Gluten-Free Sourdough: A Step-by-Step Guide to Tangy, Delicious Bread
Going gluten-free doesn't mean sacrificing the delightful tang and chewy texture of sourdough bread. This comprehensive guide will walk you through creating a delicious gluten-free sourdough starter and baking a loaf that will rival its gluten-containing counterpart. We'll cover everything from choosing the right flours to troubleshooting common issues, ensuring your gluten-free sourdough journey is a success.
Building Your Gluten-Free Sourdough Starter
The foundation of any great sourdough is a robust starter. While gluten-free starters can be a bit trickier, with patience and the right techniques, you'll be rewarded with bubbly fermentation magic.
Ingredients:
- 50g Gluten-Free Bread Flour Blend (look for a blend containing a mix of rice flour, tapioca starch, and other starches – avoid blends that are primarily one starch)
- 50g Filtered Water (room temperature)
Instructions:
- Combine: In a clean jar, mix the flour and water thoroughly until a smooth, thick paste forms.
- Initial Fermentation: Cover the jar loosely with a lid or cheesecloth and let it sit at room temperature (ideally 70-75°F) for 24-48 hours. You'll likely see little to no activity initially.
- Daily Feedings: After the initial period, begin daily feedings. Discard about half of the starter, then add 50g of gluten-free flour and 50g of water. Mix well.
- Monitoring Activity: Continue daily feedings for 7-14 days. Look for signs of fermentation: increased volume, bubbles forming on the surface, and a slightly sour aroma. If your starter isn't showing much activity, try adjusting the temperature or using a different gluten-free flour blend.
Important Note: Consistency is key! Sticking to a regular feeding schedule is crucial for a healthy starter. Don't be discouraged if it takes longer than expected – gluten-free starters can sometimes be slower to develop.
Baking Your Gluten-Free Sourdough Loaf
Once your starter is bubbly and active, you're ready to bake!
Ingredients:
- 300g Active Gluten-Free Sourdough Starter (fed 4-6 hours before use)
- 400g Gluten-Free Bread Flour Blend (same blend as used for the starter)
- 250g Filtered Water (room temperature)
- 10g Salt
Instructions:
- Autolyse: Combine the flour and water in a large bowl. Mix until just combined, cover, and let rest for 30 minutes. This allows the flour to fully hydrate.
- Mixing: Add the active starter and salt to the autolysed dough. Mix thoroughly using your hands or a stand mixer with a dough hook until a shaggy dough forms.
- Bulk Fermentation: Cover the bowl and let the dough rise at room temperature for 4-6 hours, or until it has roughly doubled in size. Perform a few stretch and folds during this time (every 30-45 minutes for the first 2 hours).
- Shaping: Gently turn the dough out onto a lightly floured surface. Shape it into a round or oval loaf.
- Proofing: Place the shaped loaf in a well-floured banneton basket (or a bowl lined with a floured cloth) and cover. Refrigerate for at least 12 hours, or up to 24 hours. This slow cold proof develops flavor.
- Baking: Preheat your oven to 450°F (232°C) with a Dutch oven inside. Carefully transfer the proofed loaf into the hot Dutch oven. Cover and bake for 30 minutes.
- Uncovered Baking: Remove the lid and bake for another 20-25 minutes, or until the crust is deeply golden brown and the internal temperature reaches 200-210°F (93-99°C).
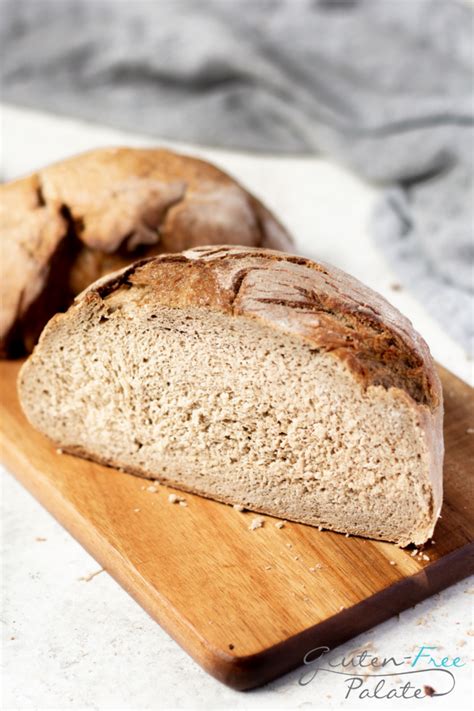
- Cooling: Let the bread cool completely on a wire rack before slicing and enjoying.
Troubleshooting Your Gluten-Free Sourdough
- Starter isn't active: Check the temperature, try a different flour blend, or ensure you're feeding it consistently.
- Dough is too sticky: Add a tablespoon or two of additional flour, one at a time, until the dough becomes manageable.
- Bread is dense: Ensure your starter is active and that you've followed the bulk fermentation and proofing times carefully. Consider adding psyllium husk powder for extra structure.
With patience and attention to detail, you can create a truly delicious and satisfying gluten-free sourdough loaf. Experiment with different gluten-free flour blends to find your perfect combination and enjoy the rewarding process of baking your own bread!

