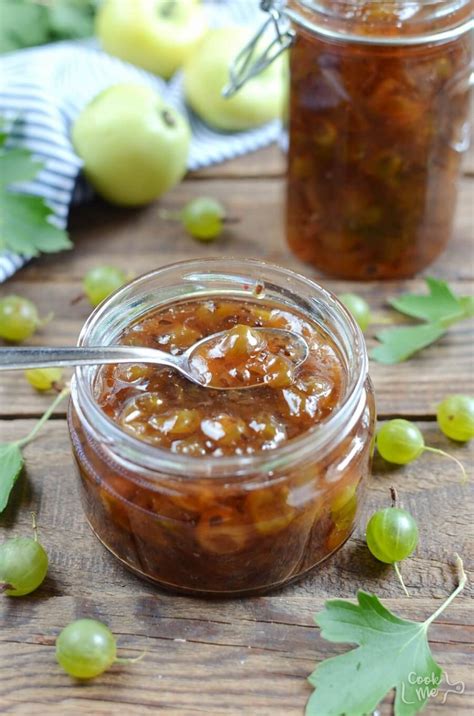
Gooseberry Jam Recipe: A Sweet and Tart Delight
Gooseberries, with their unique tangy-sweet flavor, make a truly exceptional jam. This recipe guides you through creating a delicious gooseberry jam, perfect for spreading on toast, scones, or using in baking. We'll cover everything from selecting the perfect gooseberries to achieving the ideal setting point.
Choosing Your Gooseberries
The key to great gooseberry jam lies in using ripe, but firm gooseberries. Avoid overripe berries, as they'll be too soft and prone to breaking down, resulting in a less desirable texture. Look for gooseberries that are plump, a deep green or slightly reddish color (depending on the variety), and free from blemishes.
Ingredients You'll Need:
- 1 kg (2.2 lbs) Gooseberries, topped and tailed
- 1 kg (2.2 lbs) Granulated Sugar
- Juice of 1 Lemon
Equipment:
- Large, heavy-bottomed saucepan: This is crucial for even heating and preventing scorching.
- Jam thermometer: Essential for achieving the perfect setting point.
- Sterilized jars and lids: Ensure your jam stays fresh and prevents spoilage. You can sterilize jars by washing them thoroughly in hot, soapy water, then rinsing and placing them in a low oven (around 100°C/212°F) for 15-20 minutes.
- Wooden spoon or spatula: For stirring the jam gently.
- Funnel: Makes filling the jars easier and neater.
Step-by-Step Instructions:
-
Prepare the Gooseberries: Wash the gooseberries thoroughly and carefully top and tail them. This is a crucial step; removing the stems and blossom ends ensures a smoother jam.
-
Combine Ingredients: Gently place the prepared gooseberries in the saucepan. Add the granulated sugar and lemon juice. Stir gently to combine.
-
Gentle Heating: Place the saucepan over medium heat. Stir occasionally until the sugar dissolves completely. Avoid high heat, as this can cause burning.
-
The Boiling Stage: Once the sugar dissolves, bring the mixture to a rolling boil, stirring frequently to prevent sticking. A rolling boil means the mixture is bubbling vigorously and cannot be easily stirred down.
-
Setting Point: Use a jam thermometer to monitor the temperature. The jam is ready when it reaches the setting point, typically 104-105°C (219-221°F). This indicates the pectin in the gooseberries has properly gelled. Alternatively, you can perform the wrinkle test (see below).
-
The Wrinkle Test (Alternative to Thermometer): Place a small amount of jam on a chilled saucer. Leave it for a minute, then push the jam with your finger. If the surface wrinkles, the jam has reached setting point.
-
Filling the Jars: Carefully ladle the hot jam into your sterilized jars, leaving a small gap at the top. Wipe the rims clean and seal the jars tightly with the lids.
-
Cooling and Storage: Invert the jars for a few minutes to create a vacuum seal. Then, allow the jars to cool completely. Once cool, check the seals – they should be firmly sealed. Store in a cool, dark place.
Tips for Success:
- Don't rush the process: Patience is key to achieving the perfect texture.
- Use a heavy-bottomed pan: This prevents burning and ensures even cooking.
- Sterilize your jars properly: This helps prevent spoilage and ensures a longer shelf life.
- Adjust sweetness to taste: If you prefer a less sweet jam, you can reduce the amount of sugar slightly.
Frequently Asked Questions (FAQ):
Q: How long will my gooseberry jam last?
A: Properly stored gooseberry jam should last for up to a year.
Q: Can I freeze gooseberry jam?
A: Yes, you can freeze gooseberry jam. Allow it to cool completely before freezing in airtight containers.
Q: What can I do with leftover gooseberry jam?
A: Use it as a filling for pastries, cakes, or tarts. It also makes a delicious addition to yogurt or ice cream.
This detailed guide ensures your gooseberry jam making journey is a success! Enjoy the delicious results of your homemade efforts. Remember to share your creations and tag us! Happy Jamming!

