The Perfect Strawberry Jelly Recipe using Sure-Jell
Making your own strawberry jelly is a rewarding experience, resulting in a delicious, homemade treat. This recipe uses Sure-Jell, a pectin-based product that simplifies the process and ensures a perfect set every time. Let's dive into creating a batch of vibrant, flavorful strawberry jelly!
Ingredients You'll Need:
- 4 cups prepared strawberries: This means crushed or mashed strawberries, ready to be cooked. We'll cover preparation below.
- 4 cups sugar: Granulated white sugar works best.
- 1 box Sure-Jell (powdered pectin): This is the key ingredient for setting your jelly. Follow the package instructions carefully.
- 1/2 cup water: Used to dissolve the Sure-Jell for even distribution.
Preparing Your Strawberries:
The quality of your strawberries directly impacts the taste of your jelly. Choose ripe, but not overripe, strawberries.
- Washing and Hulling: Gently wash your strawberries and remove the green caps.
- Crushing or Mashing: You can use a potato masher, food processor, or even a fork to crush the strawberries. Leave some small chunks for texture if you prefer. Aim for a consistent, slightly chunky mixture. Avoid pureeing the strawberries completely, as this can lead to a less firm jelly.
Step-by-Step Jelly Making Instructions:
-
Prepare the Pectin: In a medium saucepan, combine the Sure-Jell and the 1/2 cup of water. Stir well to dissolve the pectin completely. This prevents lumps in your finished jelly.
-
Combine Strawberries and Sugar: Add the prepared strawberries and sugar to a large saucepan. Stir well to combine.
-
Bring to a rolling boil: Over medium-high heat, bring the strawberry mixture to a full rolling boil that cannot be stirred down. This is crucial for the setting process. Be patient; this may take a few minutes.
-
Add the Pectin Mixture: Once at a rolling boil, quickly stir in the dissolved Sure-Jell mixture. Stir constantly and vigorously for exactly one minute. This is vital for activating the pectin.
-
Skim the Foam: Use a spoon to remove any foam that forms on the surface of the mixture.
-
Fill the Jars: Ladle the hot jelly into sterilized jars, leaving about 1/4 inch headspace at the top. Wipe the rims of the jars clean to ensure a good seal.
-
Process the Jars: For optimal shelf stability, process the filled jars in a boiling water bath according to your jar manufacturer's instructions. This step is essential for safe and long-lasting storage.
-
Cool and Check Seals: Allow the jars to cool completely. You should hear a "pop" sound as the lids seal. Check to make sure all lids are sealed properly before storing.
Tips for Success:
- Use a candy thermometer: For precise boiling, a candy thermometer can ensure you reach the correct temperature.
- Sterilize your jars: Clean jars are crucial to prevent spoilage. Wash them thoroughly in hot, soapy water and then sterilize them in boiling water for 10 minutes.
- Proper headspace: Leaving the appropriate headspace prevents the jars from breaking during processing.
- Store in a cool, dark place: Once sealed, your strawberry jelly should be stored in a cool, dark, and dry place.
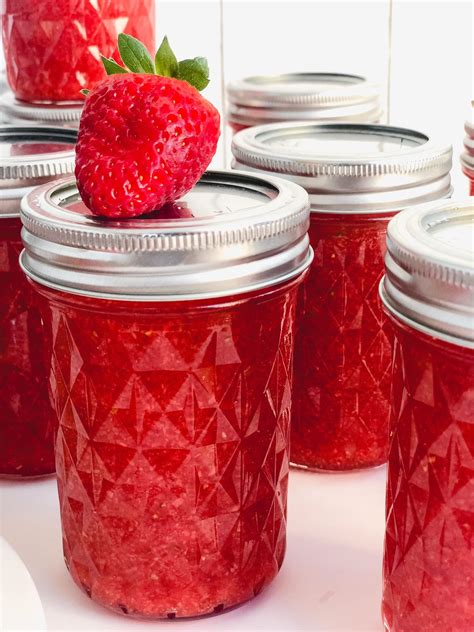
Enjoy Your Homemade Strawberry Jelly!
This recipe guides you through making delicious, homemade strawberry jelly using Sure-Jell. Remember, attention to detail, especially during the boiling and pectin-addition stages, is crucial for achieving the perfect consistency and a long shelf life. Enjoy spreading your homemade jelly on toast, biscuits, or using it as a delicious ingredient in other recipes!

