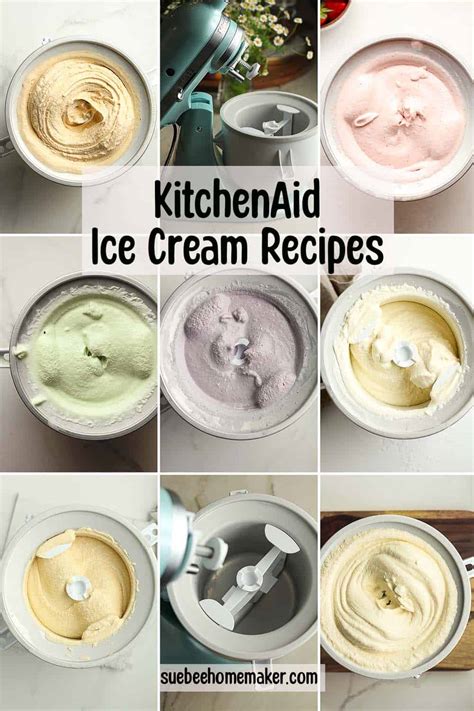
The Ultimate Guide to Delicious Homemade KitchenAid Ice Cream
Making ice cream at home has never been easier, especially with the help of your trusty KitchenAid stand mixer! This comprehensive guide will walk you through everything you need to know to create creamy, dreamy ice cream using your KitchenAid, from choosing the right recipe to mastering the perfect texture. We'll cover several KitchenAid ice cream recipes and offer tips for success.
Choosing Your KitchenAid Ice Cream Recipe: A Flavor Adventure
The beauty of homemade ice cream is the endless possibilities! Before you dive in, consider these factors when selecting a recipe:
- Your preferred flavor profile: Do you crave classic vanilla bean, rich chocolate, refreshing fruit sorbets, or something more adventurous? The options are limitless!
- Recipe complexity: Some recipes require minimal ingredients and steps, while others involve more elaborate techniques like cooking custards or making caramel sauces. Choose a recipe that matches your skill level and available time.
- Ingredients on hand: Check your pantry and refrigerator before settling on a recipe to avoid mid-process shopping trips.
Essential KitchenAid Ice Cream Making Equipment
Beyond your KitchenAid stand mixer and its ice cream bowl attachment (essential!), you'll need a few other tools:
- Measuring cups and spoons: For precise ingredient measurements.
- Rubber spatula or spoon: For scraping down the bowl and ensuring even mixing.
- Airtight container: For storing your finished ice cream.
- Optional: Candy thermometer (for custard-based recipes), food processor (for making certain components).
KitchenAid Ice Cream Recipe: Classic Vanilla Bean
This recipe is a perfect starting point for beginners. It highlights the pure, creamy flavor of vanilla bean.
Ingredients:
- 2 cups heavy cream
- 1 cup whole milk
- ¾ cup granulated sugar
- 1 teaspoon vanilla extract
- 1 vanilla bean, split and seeds scraped (or 2 teaspoons vanilla bean paste)
Instructions:
- Combine ingredients: In a medium saucepan, combine the heavy cream, milk, sugar, and vanilla bean seeds (and pod, if using).
- Heat gently: Heat over medium-low heat, stirring occasionally, until the sugar dissolves completely. Do not boil.
- Cool completely: Remove from heat and let cool completely. This step is crucial to prevent ice crystals.
- Chill: Refrigerate for at least 4 hours, or preferably overnight.
- Churn: Pour the chilled mixture into your KitchenAid bowl with the ice cream maker attachment. Churn according to your machine's instructions (usually 20-30 minutes).
- Harden: Transfer the churned ice cream to an airtight container and freeze for at least 2-3 hours to allow it to fully harden.
KitchenAid Ice Cream Recipe: Chocolate Fudge Swirl
This recipe elevates the classic vanilla bean with a decadent chocolate swirl.
Ingredients: (Combine Vanilla Bean recipe above with the following):
- Chocolate Swirl:
- ½ cup semi-sweet chocolate chips
- 2 tablespoons heavy cream
Instructions:
- Follow steps 1-6 from the Classic Vanilla Bean recipe.
- Make the chocolate swirl: While the vanilla ice cream churns, melt the chocolate chips with the heavy cream in a double boiler or microwave. Stir until smooth.
- Swirl and freeze: Once the ice cream is churned, gently swirl in the melted chocolate. Freeze as directed above.
Tips for KitchenAid Ice Cream Success
- Use high-quality ingredients: The better your ingredients, the better your ice cream will taste.
- Chill thoroughly: Proper chilling prevents ice crystals and ensures a smooth texture.
- Don't over-churn: Over-churning can lead to a dense, icy texture. Follow your machine's instructions carefully.
- Get creative with mix-ins: Add your favorite nuts, fruits, candies, or cookies after churning for extra flavor and texture.
Conclusion: Enjoy Your Homemade KitchenAid Ice Cream!
With a little planning and these recipes as a guide, you'll be enjoying delicious, homemade ice cream in no time! Remember to experiment with different flavors and add-ins to create your own signature KitchenAid ice cream masterpieces. Happy churning!

