The Ultimate Recipe for Homemade Raspberry Jelly: A Sweet and Simple Guide
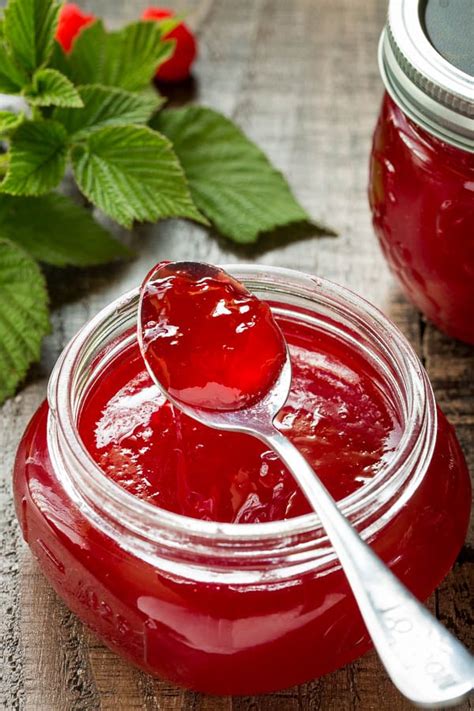
Making your own raspberry jelly is a rewarding experience, resulting in a delicious, vibrant treat perfect for spreading on toast, using in cakes, or simply enjoying on its own. This comprehensive guide will walk you through each step, ensuring your homemade raspberry jelly is a resounding success. We'll cover everything from selecting the perfect raspberries to achieving the ideal set.
Choosing the Right Raspberries
The key to exceptional raspberry jelly lies in using high-quality, ripe raspberries. Look for raspberries that are plump, deeply colored, and fragrant. Avoid berries that are bruised, moldy, or overly soft. The flavor of your jelly will directly reflect the quality of your starting ingredients. Consider using organic raspberries for a purer taste.
Gathering Your Ingredients and Equipment
Before you begin, ensure you have all the necessary ingredients and equipment. This will streamline the process and prevent interruptions. You'll need:
- 450g ripe raspberries (approximately 2 cups)
- 700g granulated sugar (approximately 3 cups)
- 100ml water (approximately ½ cup)
- 1 package (1.75 oz) powdered pectin (or liquid pectin, following package instructions)
- Sterilized jars and lids (enough to hold your finished jelly)
- Large saucepan
- Wooden spoon or spatula
- Measuring cups and spoons
- Ladle
- Jelly thermometer (highly recommended)
- Funnel (optional, but helpful)
Step-by-Step Instructions for Making Raspberry Jelly
1. Preparing the Raspberries:
Mash the raspberries using a potato masher or the back of a spoon in a large bowl. This releases the juice and ensures maximum flavor extraction.
2. Extracting the Raspberry Juice:
Pour the mashed raspberries into a fine-mesh sieve set over a bowl. Gently press the pulp to extract as much juice as possible. You should aim for approximately 300-400ml of juice. Discard the remaining pulp.
3. Combining Ingredients:
In a large saucepan, combine the raspberry juice, sugar, and powdered pectin. Stir well to ensure the pectin is thoroughly dissolved. If using liquid pectin, follow the instructions on your specific package carefully, as the process may differ.
4. Bringing the Mixture to a Boil:
Bring the mixture to a rolling boil over medium-high heat, stirring constantly to prevent scorching. Once boiling, continue to stir vigorously for 1 minute. This is crucial for activating the pectin and achieving a proper set.
5. Checking the Setting Point:
Use a jelly thermometer to monitor the temperature. The mixture should reach 104°C (219°F) for a perfect set. If you don't have a thermometer, you can perform the wrinkle test: place a small amount of the jelly onto a chilled plate. Let it cool for a minute, then push the jelly with your finger. If it wrinkles, it's ready.
6. Filling the Jars:
Carefully ladle the hot jelly into your sterilized jars, leaving about ½ inch of headspace at the top. Wipe the rims of the jars clean, and securely attach the lids.
7. Processing the Jars (Optional but Recommended):
For longer shelf life, process the filled jars in a boiling water bath for 10 minutes. This creates a vacuum seal, preventing spoilage. If you skip this step, store your jelly in the refrigerator and consume it within a few weeks.
8. Cooling and Storage:
Allow the jars to cool completely. You should hear a "pop" sound as the lids seal. Once cooled, check the seals to ensure they are airtight. Store your raspberry jelly in a cool, dark, and dry place.
Tips for Success
- Use fresh, high-quality raspberries.
- Sterilize your jars and lids properly.
- Stir constantly while boiling to prevent burning.
- Use a jelly thermometer for accurate temperature control.
- Follow the instructions for your specific pectin type.

